admin

Etruscan jewelry (ITALY)

During the first meeting of the Erasmus Plus HAND! project at the Libertarian School “Albero della Tuscia” in Farnese (VT), elementary school children embarked on a fascinating journey to discover Etruscan jewelry. The presenter, Marianna Iurlo, told the story of the Etruscans, the ancient people of central Italy known for their skill in the art of goldsmithing, and explained how jewelry was not mere ornaments, but authentic symbols of wealth, protection and spirituality.The boys and girls learned that these precious objects, made of gold, silver, bronze, amber, and semi-precious stones, were embellished with refined techniques such as filigree, granulation, and especially embossing, which allows the creation of three-dimensional reliefs on metal. During the presentation, special attention was paid to the meaning of the symbols: the Sun represented life, light and energy, while the Moon was associated with the mysterious passage into the afterlife; the Serpent represented protection and renewal, the Eagle expressed power and connection with the heavens, and the Horse evoked nobility and strength. In addition, the Circle and Spiral recalled the continuous cycle of life, fertility and prosperity, while plants and flowers engraved on jewelry suggested rebirth and abundance. Some jewelry even featured formulas or incantations, intended to protect the wearer and connect the earthly world to the divine. To make this journey through time even more tangible, photographs of jewelry found in Etruscan tombs and housed in the Vulci museum were shown, giving children a direct visual connection to the past. Next, participants put what they learned into practice by making a band bracelet. Using a copper plate, the children experimented with the embossing technique: with the help of a die-cutting machine, a relief design was imprinted, which was then refined with burins to define the details. During the making of the bracelet, hot glue was used to fill in the reliefs and make the edges of the foil less sharp, thus providing greater security. In addition, through the use of jeweler’s pliers, terminals were applied to the bead and connector rings inserted, for an accurate and professional finish.This first meeting, aimed to combine learning about Etruscan history and culture with the direct experience of metalworking, strengthening the children’s sense of cultural belonging and creativity. A course that transformed knowledge into a concrete experience, stimulating creativity, teamwork and the discovery and appreciation of the artistic and historical heritage of the past.

Etruscan jewelry (ITALY) Read More »

Musical Instruments – Part 3 (ITALY)

The third and final meeting of the Erasmus Plus Project – HAND! at the Albero della Tuscia School in Farnese (VT) took place in a serene and playful atmosphere, demonstrating how collaboration and creativity can transform recycled materials into real musical instruments. During this lesson, the children began by drawing their own ideas for instruments, letting their imaginations run wild. The preparation of the materials was guided by the conductor, but it was soon evident as the increasingly close-knit group organized themselves for a time of ensemble music, this time without the conductor’s guidance. After the musical experimentation phase, the boys and girls continued to refine the instruments, working the wood through scraping and sanding operations, and using working tools such as a drill under careful supervision. This phase allowed them to acquire new technical skills as they decorated with markers the different parts that would make up the sistrum and the two types of clap clap. In addition to strengthening manual skills, the experience fostered teamwork and autonomy, leaving each participant with an awareness of the importance of a creative and sustainable approach.

Musical Instruments – Part 3 (ITALY) Read More »

Flying Carpets (ESTONIA)

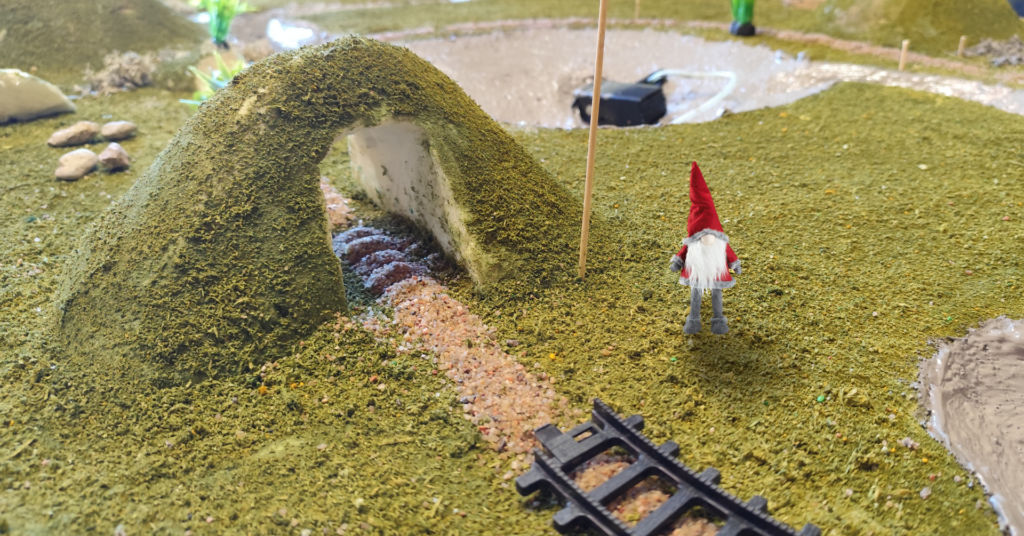
In this workshop we entered the world of traditional weaving with wooden framed looms. Estonian weaving has a long and vibrant history, with each region having its own unique patterns and styles. Weaving wasn’t just a skill; it was a way to express creativity and keep traditions alive. Patterns and designs often had special meanings and they were passed down from generation to generation. Children made carpets on small looms and bigger looms.  The process of setting up the Loom: First we got a whole bunch of threads ready. These are called the warp threads. They are like the backbone of the fabric and will run lengthwise. These warp threads needed to be carefully measured and wound onto a special part of the loom called the warp beam.   Then, each warp thread is threaded through tiny holes in things called heddles and then through a reed. The reed helps to keep the threads evenly spaced. This part can take a little while and needs to be done carefully and patiently! First the recycled fabric strips were chosen and with the help of the teacher the strips were tied to looms and then the fun part started. Then started the fun part of weaving. Children chose the recycled fabric strips for weft threads. These ran across the width of the fabric, going in and out of the warp threads. (The weft thread is wound onto a shuttle, which is like a little boat that you pass back and forth through the raised and lowered warp threads.) Every time you pass the shuttle with the weft thread across, you use a part of the loom called the beater to gently push the new weft thread into place, making the fabric nice and tight.  Kids enjoyed the process and said it is a very focused and fun and also social activity. It’s a great way to be creative and make something beautiful with your own hands. It is also a great way to learn about the history of how people used to make their own clothes and textiles. It’s like making art with threads, and it’s a skill that people have been using for thousands of years. As in old times people used to sing during working, we were also singing old folk songs to make the workshop feel even more like traveling back in time to our ancestors. Wonderful mini “flying” carpets were made for their other project called “miniature-world”. Looms will be placed in the school hall for everyday use.    

Flying Carpets (ESTONIA) Read More »

Musical Instruments & Recycling Part 2 (ITALY)

The second meeting of the musical instruments workshop saw the introduction of new children, for whom a brief summary of the activities conducted during the previous meeting was given. In particular, the experience of playing the drums in sequence was reintroduced, starting with one stroke on each drum and continuing with two strokes alternating hands, maintaining a regular pulse. This activity allowed the children to consolidate their acquired knowledge, improving their coordination and sense of rhythm. The children also revisited the operation of the piano, exploring again the mechanism of the strings for sound production. An interesting part of the meeting was devoted to experimenting with a corrugated pipe, which, when spun, emitted a sound similar to that of a propeller flute. The children found that varying the speed of rotation of the tube changed the pitch of the sound. The conductor then introduced the sistrum, a musical instrument from ancient Rome, constructed from recycled materials: a hanger to which plastic caps were attached. The children enjoyed the creative use of materials and began to reflect on the art of building musical instruments with sustainable resources. The practical part of the meeting was devoted to instrument making. The children started making a sistrum and a clap clap, using wood that was cut by the conductor with a circular saw. While working to prepare the materials, the children also drew the plans for their instruments. Next, they sanded the pieces of wood that will make up the instruments, an activity that stimulated their manual dexterity and attention to detail. The meeting concluded with a session of ensemble music, during which the children played drums, collaborating to create a common rhythm and experiencing the value of music as a collective experience. In summary, the second meeting allowed the children to explore new instruments, consolidate practical and theoretical knowledge, and further approach the art of building recycled musical instruments. The day was full of creativity, hands-on learning and fun,.

Musical Instruments & Recycling Part 2 (ITALY) Read More »

Musical Instruments and Recycling (ITALY)

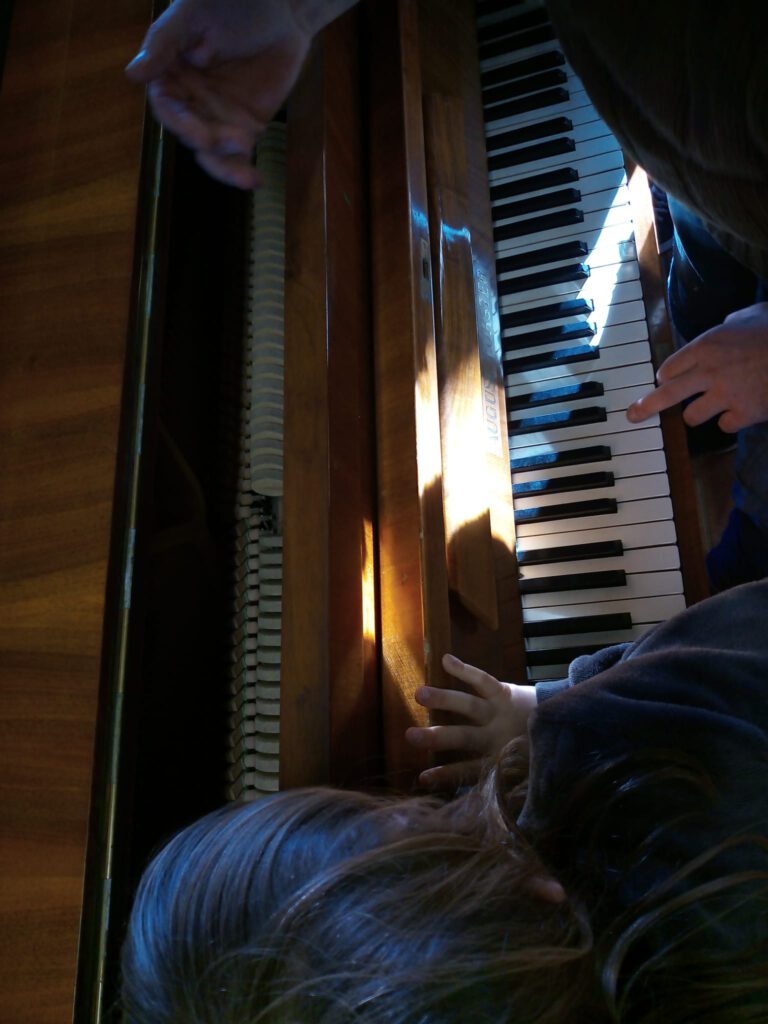
The first meeting of the “Traditional Instruments and Instruments made of Recycle Materials” aimed to introduce elementary school children to the classification of musical instruments and to stimulate their interest in music and crafts through practical and theoretical activities. During this session, the presenter introduced the main types of musical instruments, divided into three categories: aerophones, chordophones and membranophones. Introduction to the Classification of Musical Instruments 1. Aerophones:The first group of instruments presented was the aerophones, which produce sound by air vibrating inside them. The conductor showed the recorder, a classic example of an aerophone. The children had the opportunity to observe the instrument and listen to its sound. Afterwards, they were invited to try playing the flute. The activity provided an understanding of the concept of how air inside a musical instrument can generate sound. 2. Chordophones:The second group of instruments was chordophones, which produce sound through the vibration of taut strings. In this case, the conductor introduced the monochord, an ancient instrument consisting of a single string stretched over a sound box. The children observed how the sound produced changed depending on the tension of the string and were able to experiment with plucking the string to listen for changes in pitch.   3. Membranophones:Finally, membranophones, which produce sound by vibrating a membrane stretched over an instrument, were presented. The presenter used drums as an example of this category. The children were able to observe the drums and listen to how the sound changed depending on the tension of the membrane.   Next, a practice session was held in which the children played five drums, each with different tensions. First they tried tapping on each drum with one stick, then they experimented with using two sticks, alternating hands, to perceive how technique affects the sound produced. This activity enabled the children to understand the differences in the sound of the drums and how membrane tension plays a key role in sound production.   Piano Observation During the course of the meeting, a brief observation of the school’s piano was also offered. The children had the opportunity to see how the piano key, when pressed, activates a hammer that causes the inner strings to vibrate. This part of the meeting allowed them to understand the concept of how different instruments can function similarly, but with different mechanisms.   Creative and Reflective Activity   At the end of the hands-on activities, the children were involved in a series of complementary activities:   * Report writing: Each child wrote a short report on their activities. This exercise stimulated their observation and reflection skills, consolidating what they learned about musical instruments and how they work.   * Drawing musical instruments: As a creative activity, the children colored a drawing depicting various musical instruments. This gave them the opportunity to express their own view of music and instruments, associating the theoretical concepts they learned with their own visual experience.   Conclusions   The first meeting was an engaging introduction to the classification of musical instruments, combining theory and practice. Children had the opportunity to explore different types of instruments (aerophones, chordophones, and membranophones), understanding the differences in how they function and produce sound. Hands-on experience, particularly with the recorder, monochord and drums, stimulated their interest and made learning more concrete and fun. Writing and drawing activities completed the meeting, allowing children to consolidate information in creative ways.

Musical Instruments and Recycling (ITALY) Read More »

Christmas Decoration made of Clay (ESTONIA)

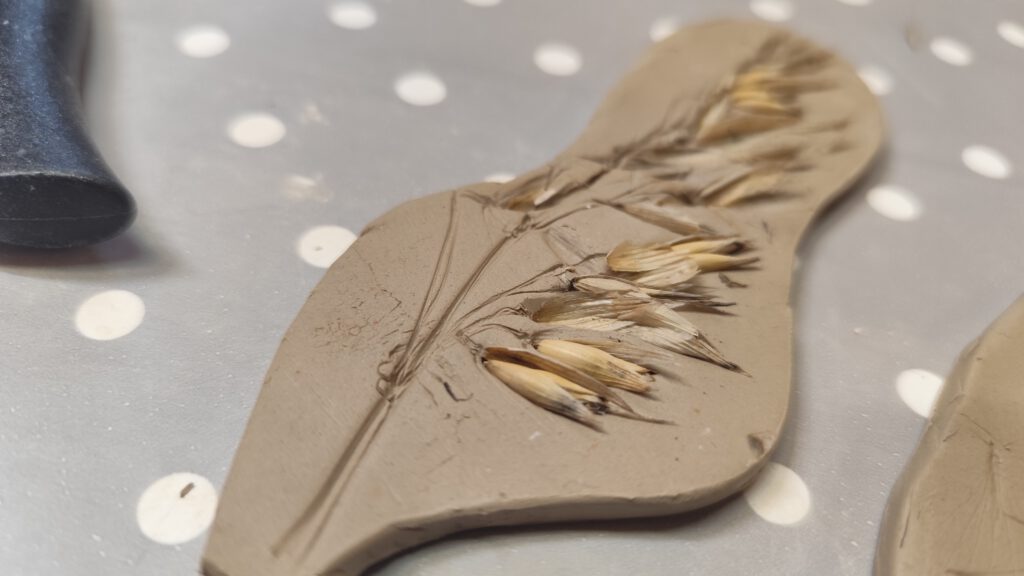
The second part of making christmas decorations was inspired from our love for pottery making. As Christmas was approaching we wanted to add more decorations to beautiful paper angels and stars. Hands-on process: First we squished the clay and rolled it around in our hands for a little while to make it softer and easier to work with, then we put the clay on a smooth surface (cutting board) and used our rolling pins to roll it out until it’s about as thick as a cookie.  Then we used cookie cutters and gently pressed them into the clay.  Once we had pressed the cutter into the clay, carefully used a knife or sharp tool to cut around the edges. Then every person used their imagination and fantasy to add decorations or letter molds to write their own or friends name. Also wheat grains or pearls or other elements were pressed into clay. Next step was to poke a small hole near the top of each clay shape for putting string or ribbon later to hang it up. Final step was to leave the shapes out in the air to dry overnight.  The feeling during the workshop was joyful, relaxing, very creative and even meditative for some.

Christmas Decoration made of Clay (ESTONIA) Read More »

Traditional Paper Christmas Decorations (ESTONIA)

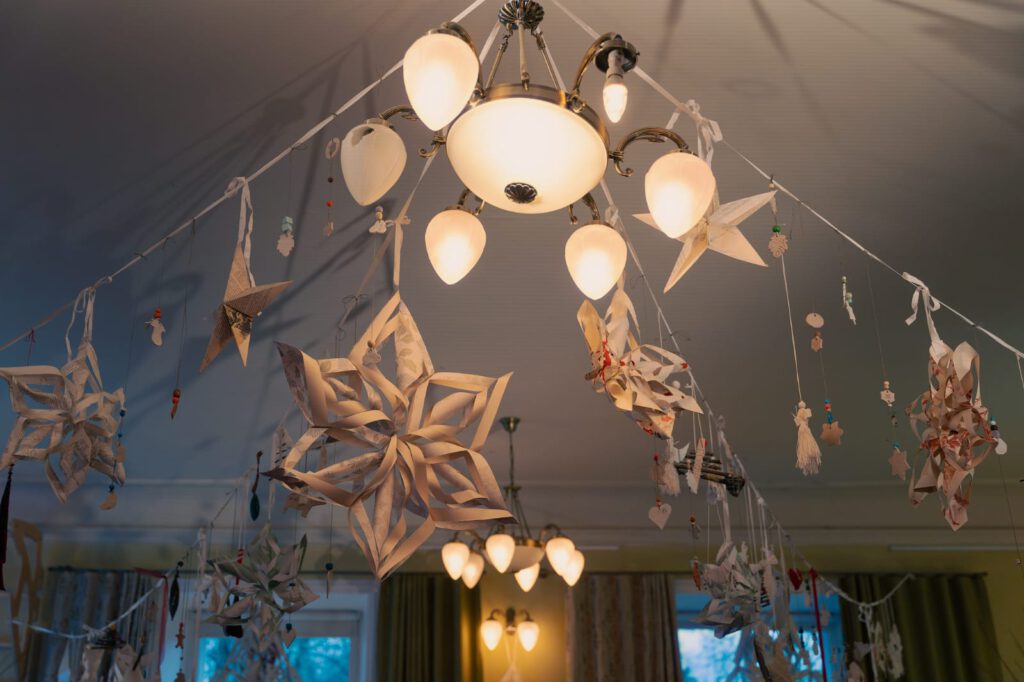
People in Estonia have been making paper decorations for celebrations for centuries. In this workshop children wanted to experiment with different types of paper. Firstly, a lot of different paper (old books, wallpaper etc.) was gathered. Also thread, scissors, hot glue gun, needles and other tools were used. Angels, stars and snowflakes from paper (different textures and patterns) were created. For example angel’s wings were made out of paper, the body and the dress out of strings and the head from wooden pearls. Old book pages and plain paper were used for making stars. Lot of folding and cutting was done and a lot of glue was used. Enormous snowflakes appeared from wallpaper roles. The whole workshop was peaceful, fun and relaxing and the school hall turned into a magical place.

Traditional Paper Christmas Decorations (ESTONIA) Read More »

Transforming threads into little fabrics (ITALY)

We’re getting closer to the end of the year and the end of this workshop and the hand-spun wool is waiting to be transformed in something beautiful! Some threads are quite bold and we won’t double them, while others will be twisted to make them more stable. This is fun! The multi-coloured wool looks so beautiful when twisted.  Then we start weaving little ‘carpets’ using our hand-spun wool!  Slowly they are growing and some kids already think about who will receive them as a present for Christmas.  But also our woven bands from last week aren’t finished yet! Each child is choosing freely which project to continue. 

Transforming threads into little fabrics (ITALY) Read More »

Bandweaving (ITALY)

First of all we wanted to see how our dyed yarn turned out! Every child has chosen one jar to pull out the yarn from the dye. They look amazing!! Some colors are really bright for example the beetroot and  madder. While the pickle pear looses the color while drying in the sun. We write little labels to remember the dye we used for the future.  Back inside we start with todays main topic – Bandweaving. Every child chooses one rigid heddle and starts choosing the colors of the wool they would like to use. Preparing the heddle requires mathematics to understand the amount of threads needed and also some logical thinking to imagine how the pattern will look like afterwards. We soon realise that the preparation of the heddle is a long process of counting, measuring, ordering the threads and threading in the heddle. While listening to some theory about the structure of a weaving frame.  Once prepared all the heddles we can start weaving. To do so we decide to go outside and search for a fixed point to tie the backstrap loom. In the sun we find a fence that seems perfect. Let’s start! Weaving the first centimetres of our band we slowly get a feeling for the process. Some local woman passes by and is curious about what we’re doing. After some difficulties in the beginning the bands are growing, and it’s fun!!  Time flew and we soon have to tidy up. Next week we want to continue our band but all continue to spin some wool for a further project! 

Bandweaving (ITALY) Read More »